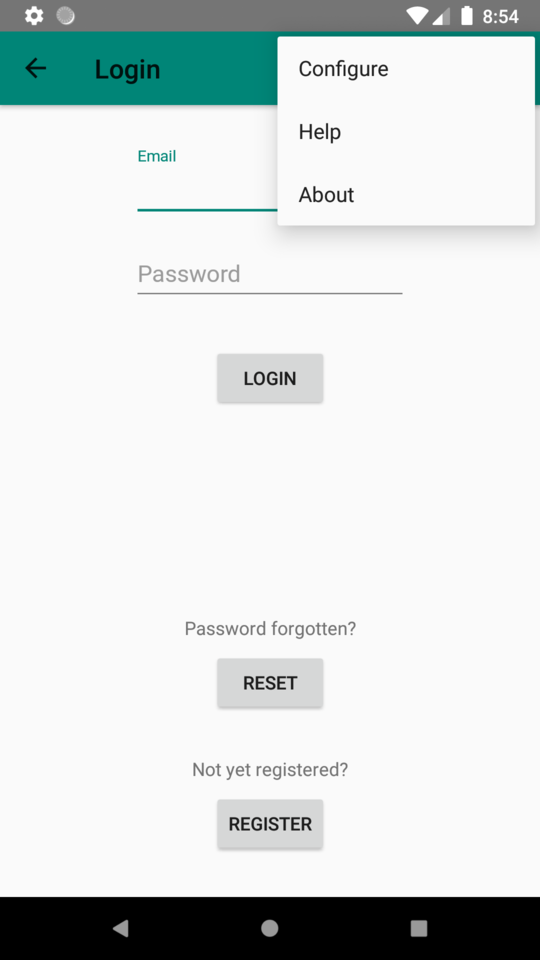
The app's screen layout includes a standard Android toolbar (actionbar) with a navigation and an overflow menu.
The Overflow menu is available on each screen. It has the following entries:
The default server URL and the synchronization interval can be overridden in the Configuration pop-up screen.
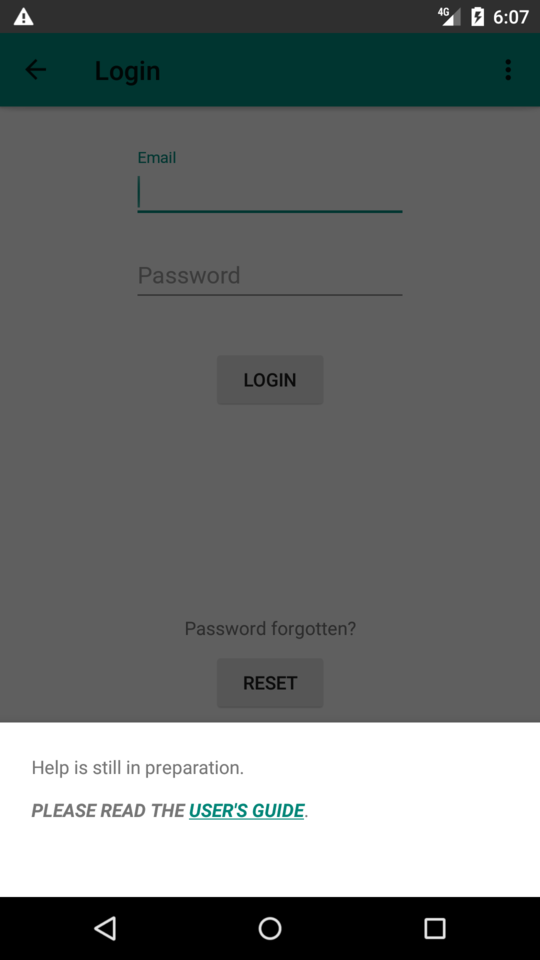
The Help screen describes the data protection measures of the application. Regarding basic management functions the User's Guide is recommended.
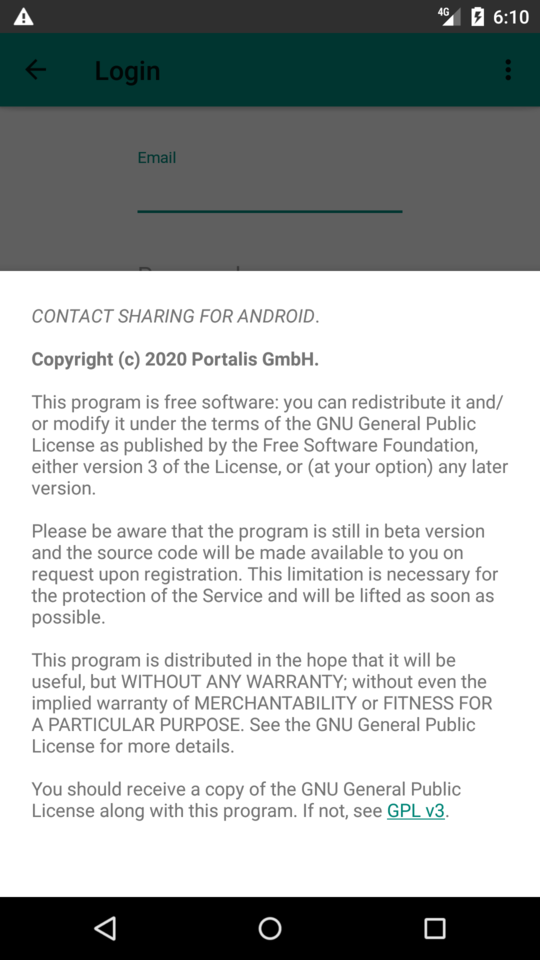
The About screen shows version and license information.
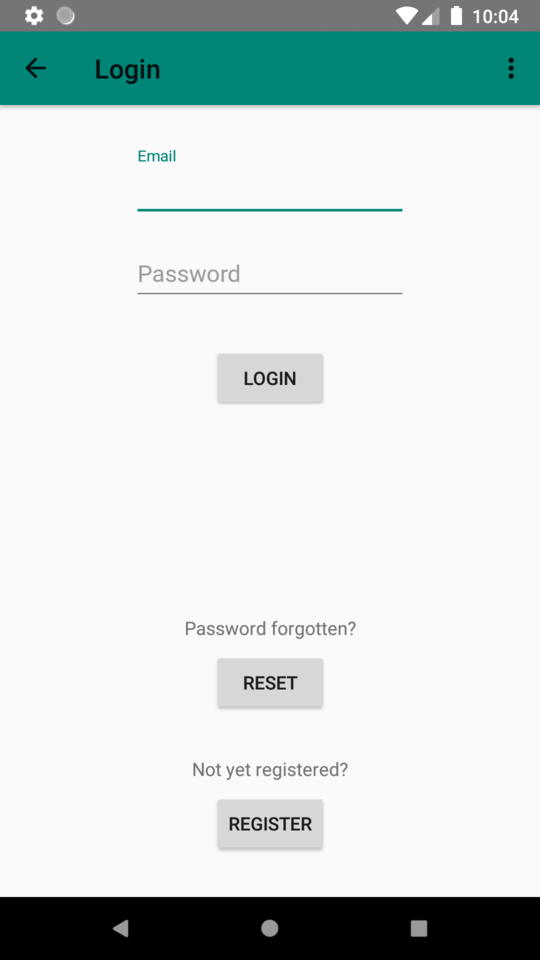
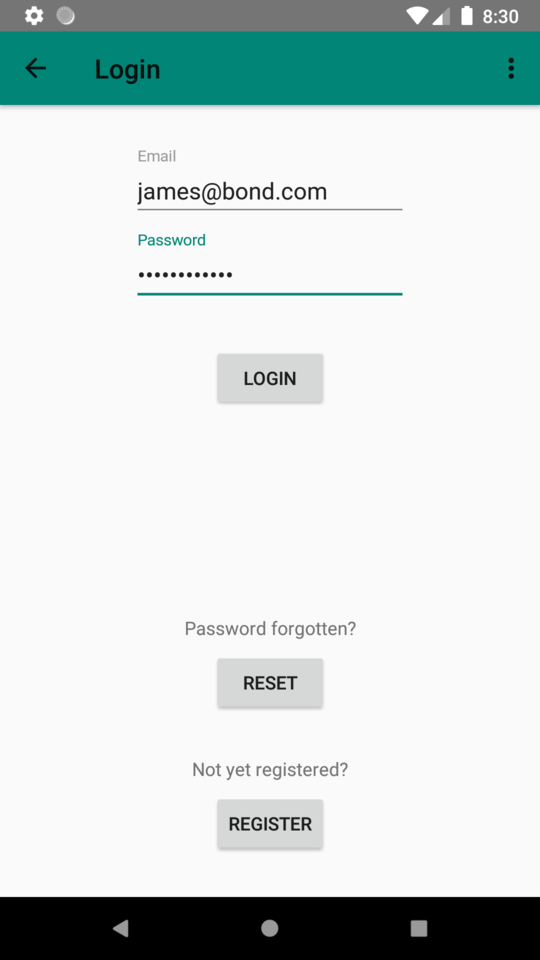
The following actions are available on the Login screen.
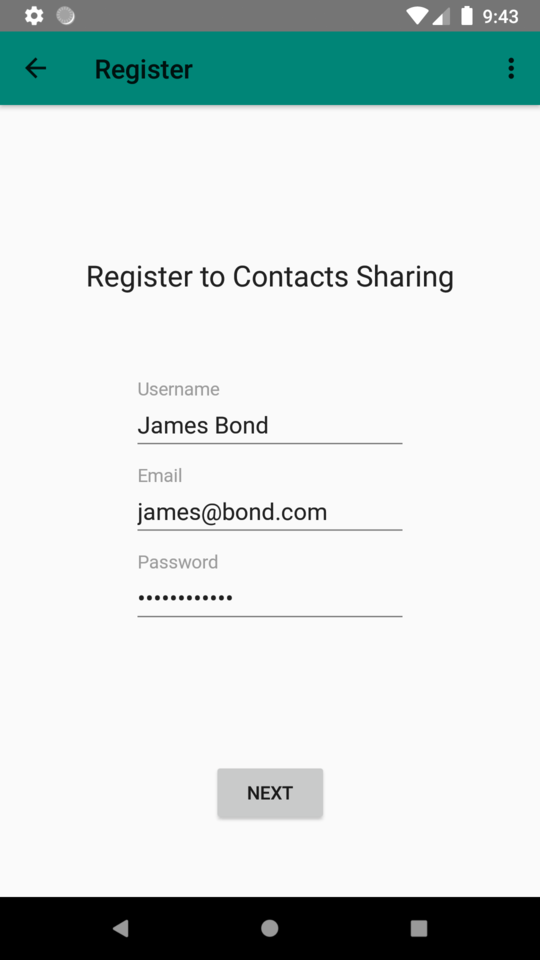
Registration is mandatory for accessing the Service. Enter a username, an email and a password. Current requirements: at least 6 characters for each entry and a valid email address. Remark: the username (alias) is used exclusively for email communication.
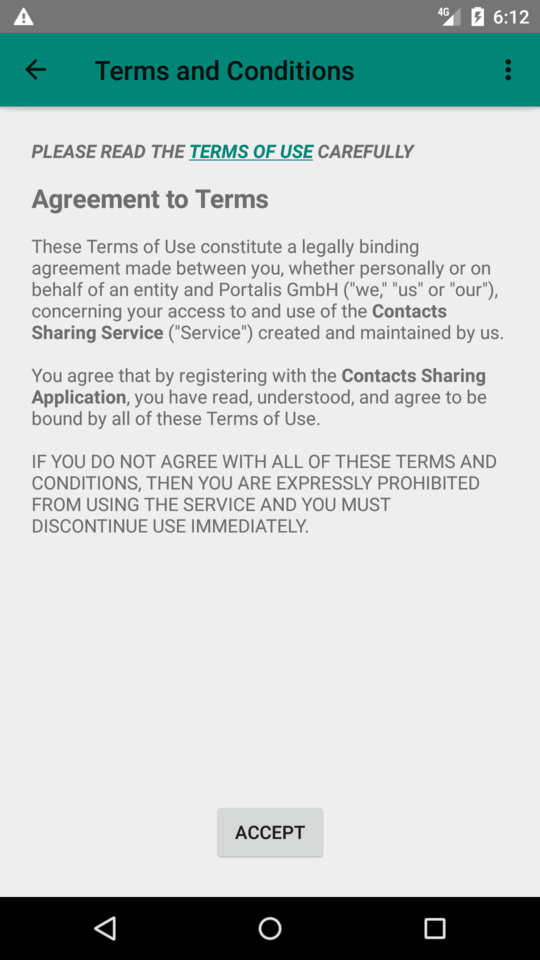
Subsequently accept the Terms of Use. Upon agreement the registration request is acknowledged by email. Click the email confirmation link to confirm the authenticity of the request. The registration is completed as soon as the confirmation is processed. Having the new credentials, you can now log in.
The registration email address and password are required for the Authentication. Upon login an access token is stored on the mobile device. You do not need to authenticate until it is valid. If the access token is invalidated for any reason then you need to log in again. (The authentication will be revised and extended in future releases.)
A registered user can request a password Reset. An email will be sent with a link to the web form where the new password can be entered.
The menu is implemented as a standard Android "drawer". It is available only upon authentication (login) and has the following entries:
"Logout" invalidates the access token and navigates back to the Login screen.
"Unregister" will delete the user registration and ends the service agreement.
The "Local Accounts" screen renders a list of all other, unmanaged accounts (e.g. social network accounts) on the mobile device.
The "One-Time Sync" function starts a one-time synchronization of all managed accounts with the server. (Synchronization will be subject to a schedule in future releases.)
Each contact on a mobile device belongs to a unique account though most Contact apps render several individual contacts in a single entry if some identifiers (name, email, etc.) are identical.
The Contacts Sync for Teams application manages only those accounts that were created by it. The contacts in a managed account can be synchronized with other mobile devices. An account shared within a team stores encrypted contact details (called: payload) centrally, on the server. The team account is identified by a share name. The local accounts connected to the same team account build a sync group. The application keeps the contacts in each sync group up-to-date.
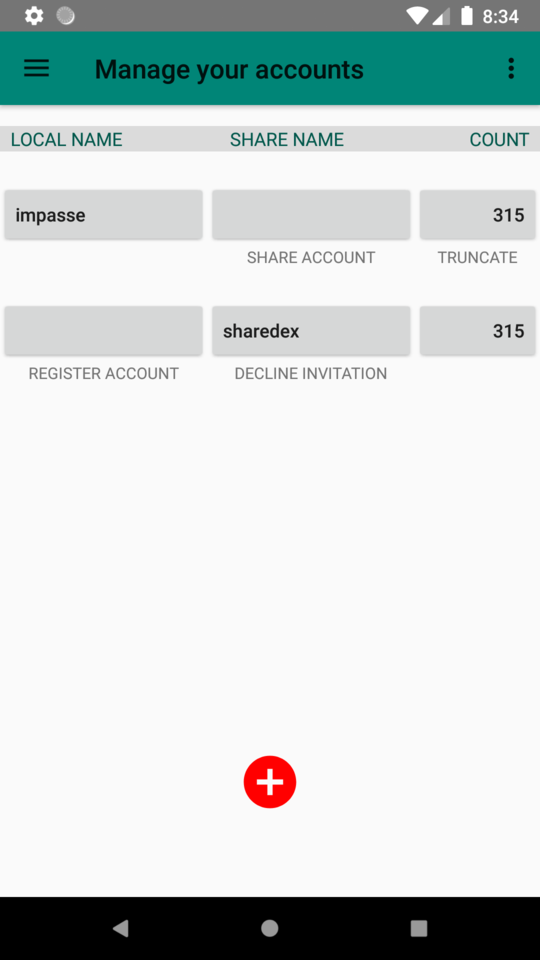
The Accounts' Management screen comprises all management functions of the application. The following actions are available depending on the actual status of the account:
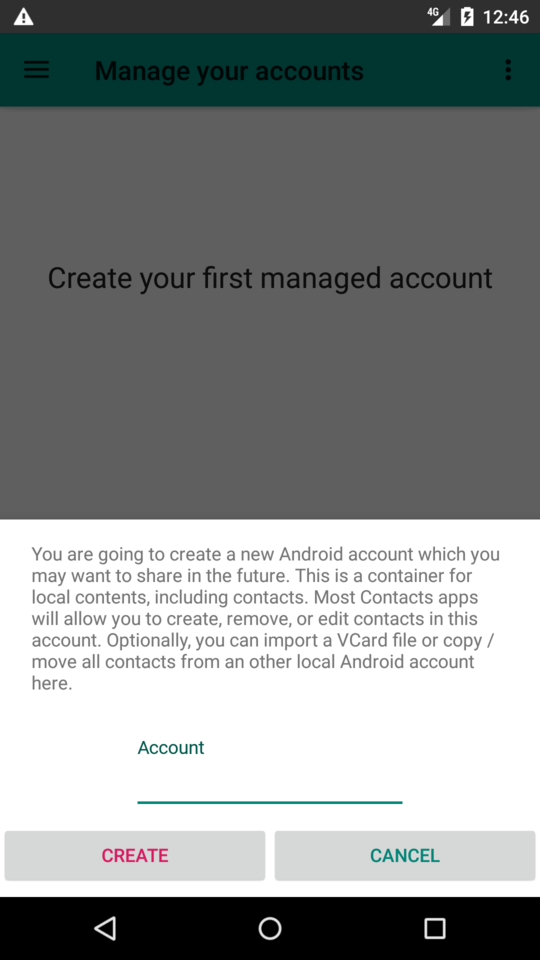
Click the (+) sign on the Accounts' Management screen and enter the account name in the Create Account pop-up. If the account does not exist then the new managed account is created immediately on the mobile device. You can check the account in the System Setting.
Remark: you can delete the account in the System Setting. This will remove all contacts of the account. If the account was shared then the payload data on the server are retained until any other device needs them.
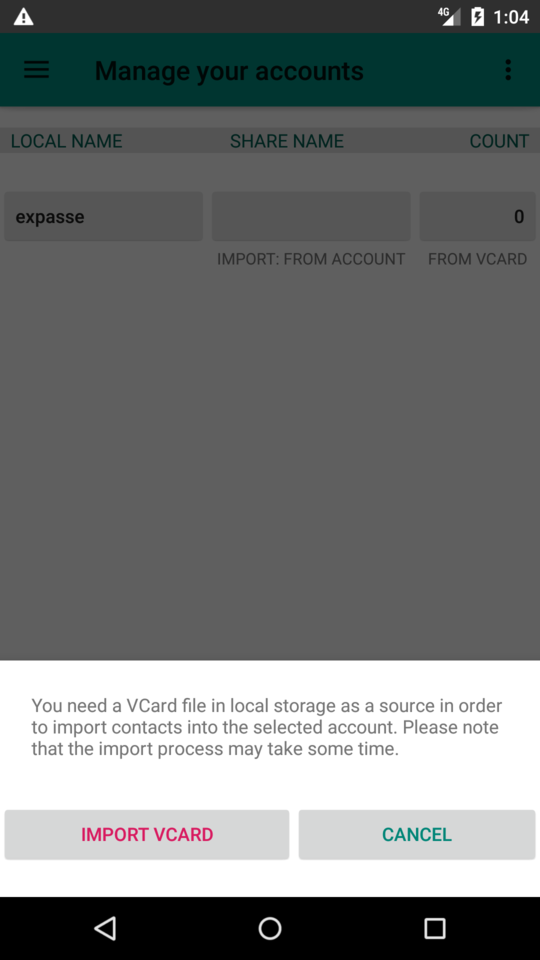
A vCard file that is stored on the device can be imported into an empty local managed account (i.e. count = 0). The action needs to be confirmed in the Import vCard screen. Next you need to locate and select the file in the system's file chooser dialog. Please be aware that the process may take some time. The count shows the number of contacts in the imported account.
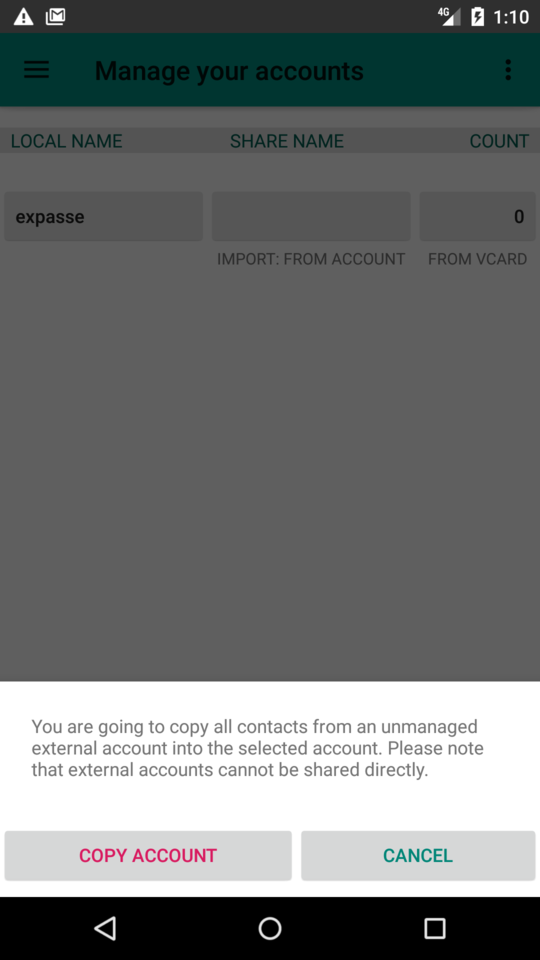
All contacts from an unmanaged account can be imported into an empty local managed account (i.e. count = 0). The action needs to be confirmed in the Copy account screen. Next you need to select the source from the list of all unmanaged accounts. Please be aware that the process may take some time. The count shows the number of contacts in the imported account.
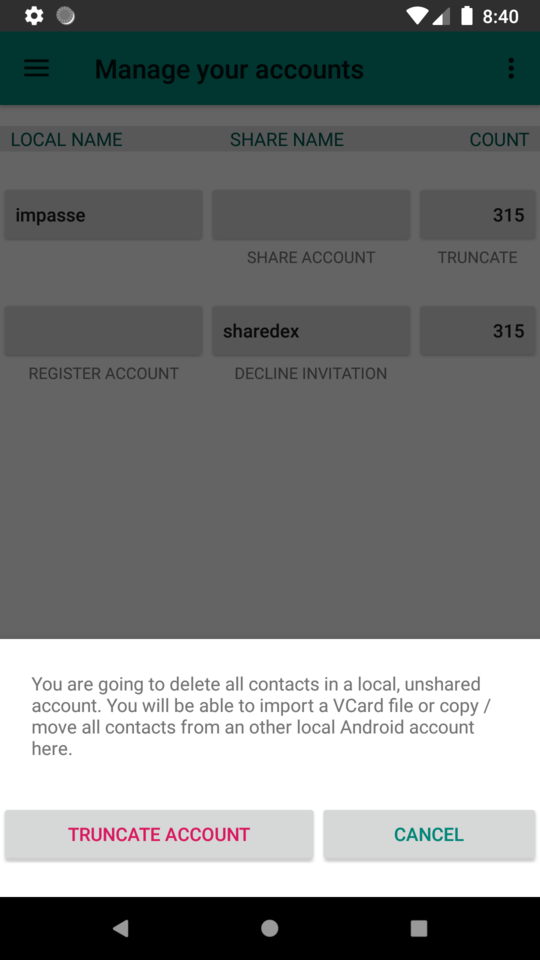
All contacts from a managed account will be removed. The action needs to be confirmed in the Truncate account screen. This should be fast. The account's number of contacts (count) is set to 0.
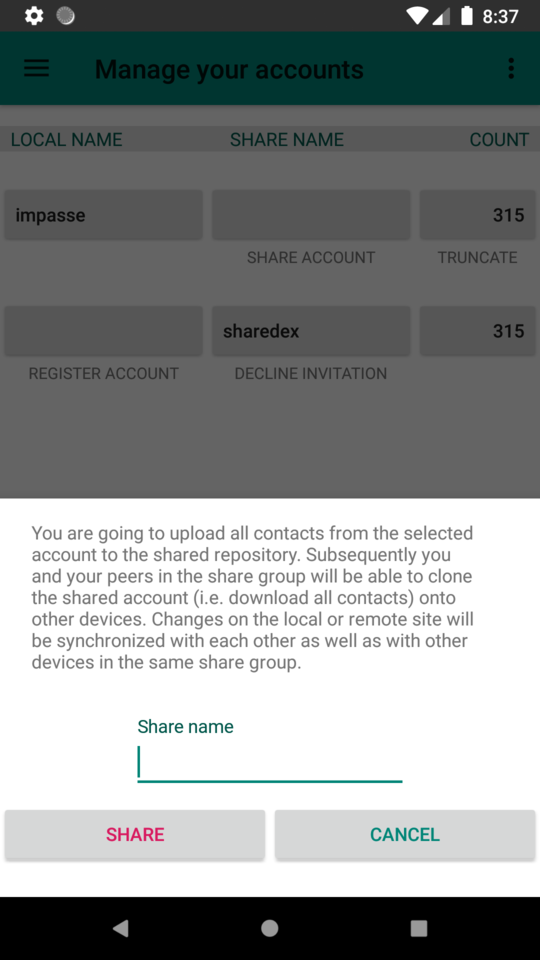
When you select an account to share with other team members then the contact details in the account will be encrypted in memory of the mobile device. The encrypted data are collectively called "payload" of the contact. All payload from the selected non-empty managed account will be uploaded to a new team account on the server. The share name is selected in the Share account screen. The local account will be registered for synchronization on the server. The upload will start immediately. Please be aware that the process may take some time.
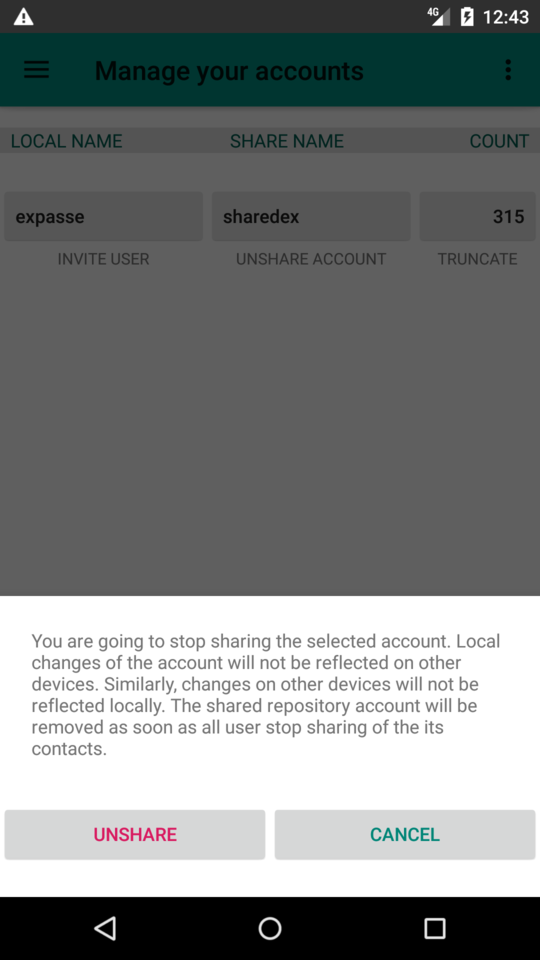
Unshare means cancelling the synchronization for a local managed account. This will delete the account registration on the server. The action must be confirmed in the Unshare account screen. The payload data of the team account will be retained on the server until any other device needs them.
You can register a team account on a mobile device if you are entitled to access the account on the server and the team account is not yet available locally. This can be the case if you can already access the team account on an other mobile device, or you are invited to register the team account by someone who has access to it.
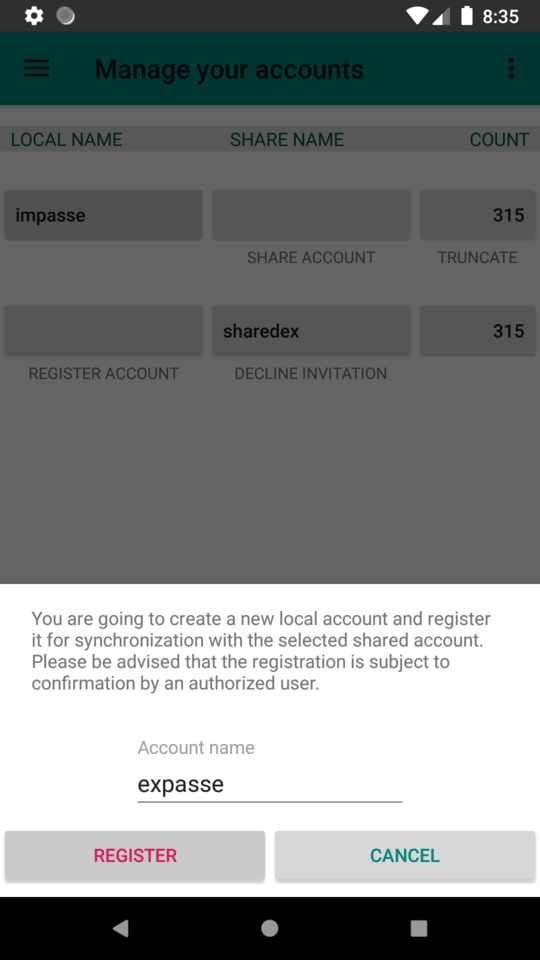
Enter the name of the local managed account in the Register account screen. The local managed account will be created immediately. The registration is subject to authorization by an owner. The Accounts' management screen will show "Authorization pending" until the registration is authorized. Once the registration is completed you can clone the contacts into the new local managed account.
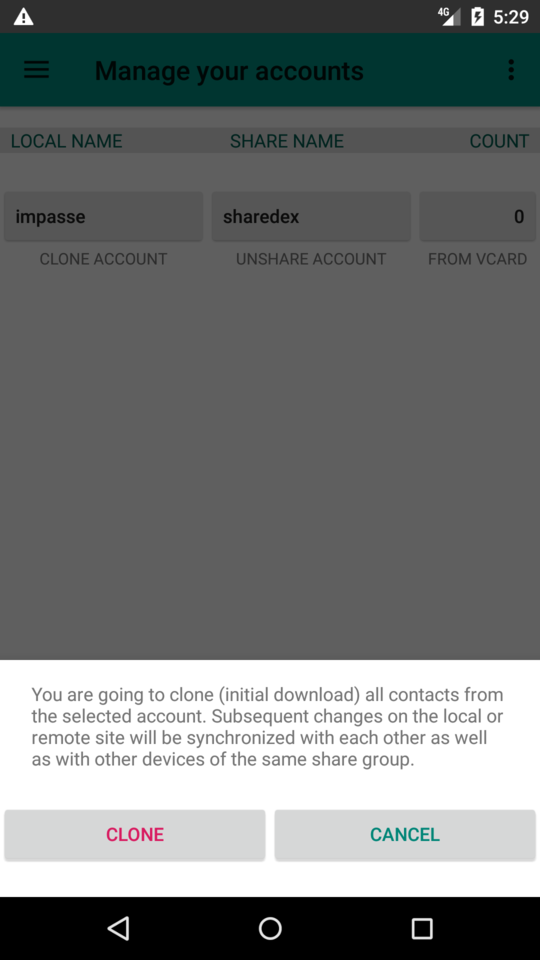
You can clone (download all contacts of) a team account into the corresponding local managed account if the target account is empty. (See also: Truncate account). The process needs to be confirmed in the Clone account screen. The download will start immediately. Please be aware that the process may take some time.
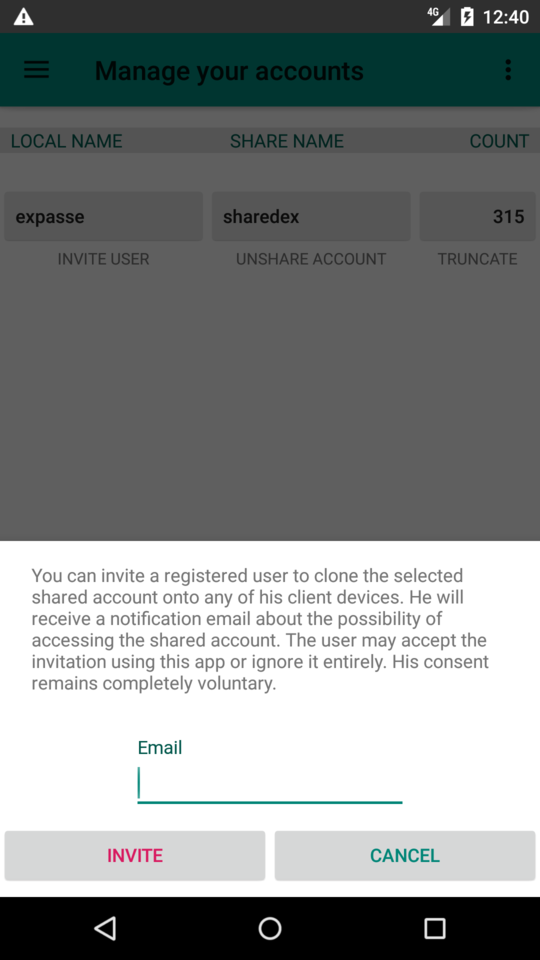
You can invite a registered user(!) to register a team account. (See also: Register account). Enter the email address of the invitee in the Invite user screen. The user will be notified by email that an account can be registered on any of his / her mobile devices.
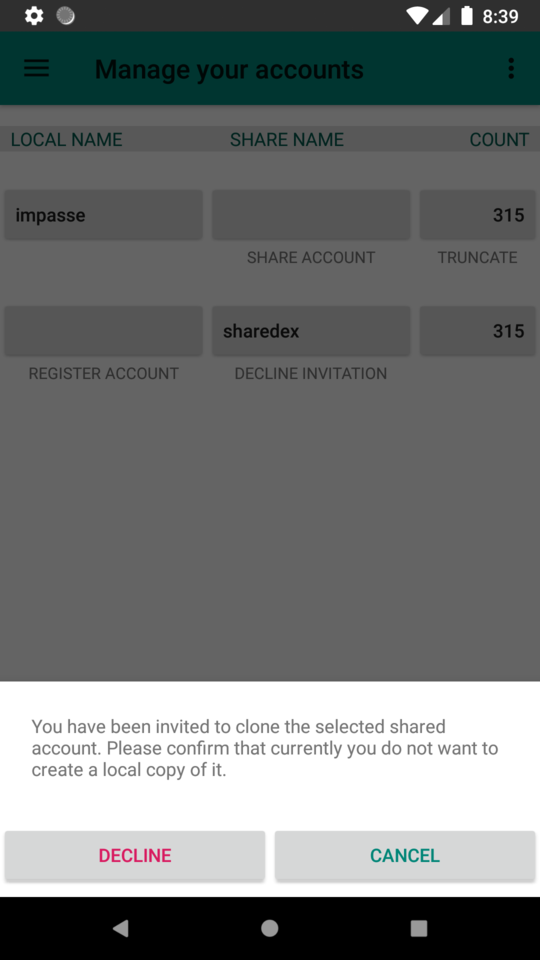
If you receive an invitation to register a team account, but you do not want to accept then you can simply decline it here. Confirm that you want to remove the invitation in the Decline invitation pop-up screen.
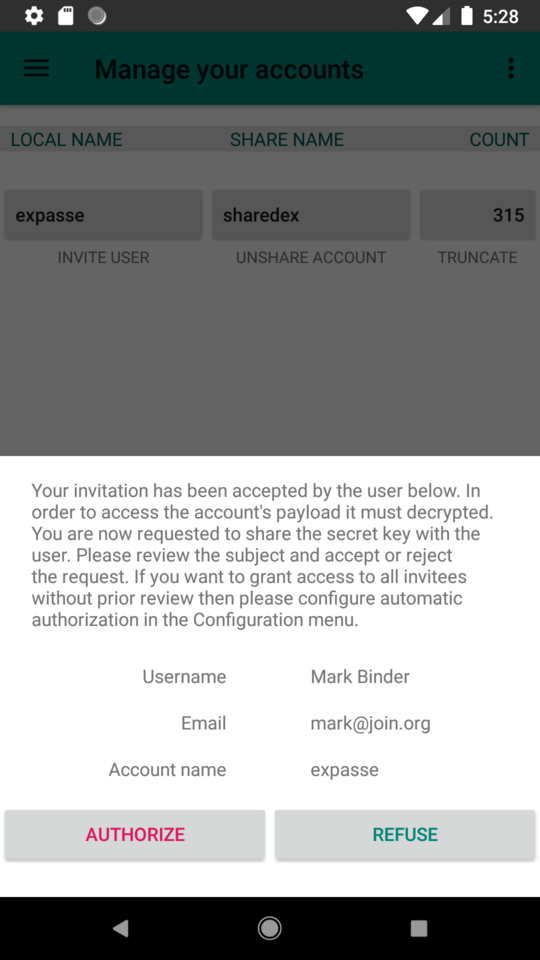
When a user registers a team account then a push notification is sent to the owner of the team account for authorization. If you receive a push notification because you are one of the owners of the team account the then click on the notification message and review the authorization request enclosed in the notification. You can authorize the request in the Authorize access pop-up screen. Subsequently the authorized team account can be cloned by the user who has submitted the registration request.